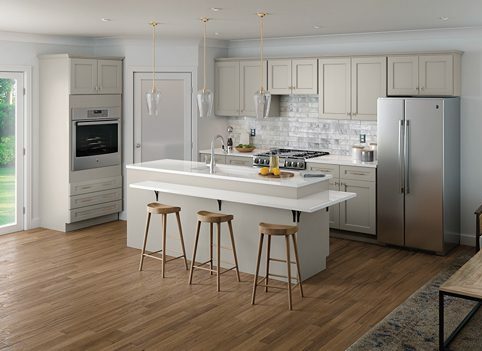
Hardwood floors are cherished for their timeless elegance, natural beauty, and resilience. Over time, even the highest-quality hardwood floors can show signs of wear, such as scratches, fading, or dullness, impacting the overall appearance and value of your home.
Refinishing your hardwood floors presents an opportunity to revitalize their charm and extend their longevity, preserving your flooring investment and enhancing your living spaces. At Top Knot, we're committed to providing our clients with the essential knowledge, tools, and insights to make informed decisions about the care and maintenance of their hardwood floors.
In this blog, we'll focus on hardwood floor refinishing, dissecting the methods, techniques, and tips that restore your floors to their original luster. By exploring the refinishing process, from sanding and staining to applying the appropriate finish, you'll be well-equipped to embark on a successful refinishing project that revitalizes your hardwood floors and ensures their lasting beauty and durability.
1. Assessing the Condition of Your Hardwood Floors
Before diving into the refinishing process, it's crucial to assess the condition of your hardwood floors to determine the best approach:
- Signs of Wear: Examine your hardwood floors for signs of wear, such as scratches, dents, fading, or stains that can impact their appearance and potentially lead to structural issues if left unaddressed.
- Finish Wear: Inspect the finish on your floors to check for any dullness, scuff marks, or peeling, which can indicate the need for refinishing.
- Depth of Damage: Evaluate the severity of any scratches or dents to determine whether a full refinishing process is necessary or if a simpler buffing and recoating would suffice.
2. Preparing for the Hardwood Floor Refinishing Process
Once you've determined that refinishing is the appropriate course of action, follow these preparation steps to ensure a successful outcome:
- Clear the Space: Remove all furniture, rugs, and decorative items from the room to provide ample space for refinishing equipment and to prevent damage to your belongings.
- Repair Damaged Areas: Address any minor damage to the hardwood floor, such as filling in deep scratches or dents with wood filler, to create a smooth and even surface for sanding.
- Seal Off the Room: To minimize dust and debris from spreading throughout your home, seal off the room where refinishing will take place using plastic sheeting and masking tape.
3. Sanding, Staining, and Finishing Techniques
Now that your space is prepared, it's time to proceed with the main stages of the hardwood floor refinishing process:
- Sanding: Sanding is a critical step that removes the existing finish while leveling the surface, creating a smooth and even canvas for refinishing. Use a drum sander or orbital sander, starting with coarse-grit sandpaper and progressing to finer grits as you go.
- Staining: If desired, apply a wood stain to enhance or alter the color of your hardwood floors. Be sure to test the stain on a hidden area or a sample piece to confirm the final appearance. Apply the stain evenly using a brush or rag, following the wood's grain and allowing ample drying time between coats.
- Finishing: Once the stain has dried, apply a protective finish to seal and protect your hardwood floors. Choose from oil-based polyurethane, water-based polyurethane, or other finish options, considering factors like durability, drying time, and environmental concerns.
4. Tips for Ensuring a Successful Refinishing Outcome
To achieve professional-quality results and lasting hardwood floor refinishing, keep these helpful tips in mind:
- Proper Ventilation: Ensure the room is well-ventilated during the refinishing process by opening windows or using fans to promote airflow. This not only helps with drying but also reduces the buildup of dust and fumes.
- Dust-Free Environment: Minimize dust and debris in the workspace to achieve a smooth and flawless finish. Regularly clean the refinishing equipment and vacuum the work area to prevent dust from settling on the wet finish.
- Follow Manufacturer's Instructions: Follow the instructions provided by the stain and finish manufacturers, including recommended drying times, application techniques, and safety precautions.
- Take Your Time: Don't rush the refinishing process, as patience is key to achieving a professional and long-lasting result. Allow adequate time for each step, especially the drying process, to ensure a smooth and even finish.
Experience the Transformational Power of Hardwood Floor Refinishing with Top Knot
Aproperly executed hardwood floor refinishing project can breathe new life into your floors, restoring their natural beauty and ensuring their continued durability. By following the outlined refinishing steps, tips, and techniques, you're well on your way to revamping your living spaces with fresh, stylish, and revitalized hardwood flooring.
At Top Knot, our team of top-quality hardwood flooring experts is committed to guiding you through the refinishing process, offering professional advice and assistance to ensure a successful outcome. Trust the expertise of Top Knot to transform your hardwood floors, elevating your home's charm and appeal for years to come. Connect with us today and experience the unparalleled beauty of expertly refinished hardwood floors!
